Note: There are some small differences in how your site looks to the site in this video.
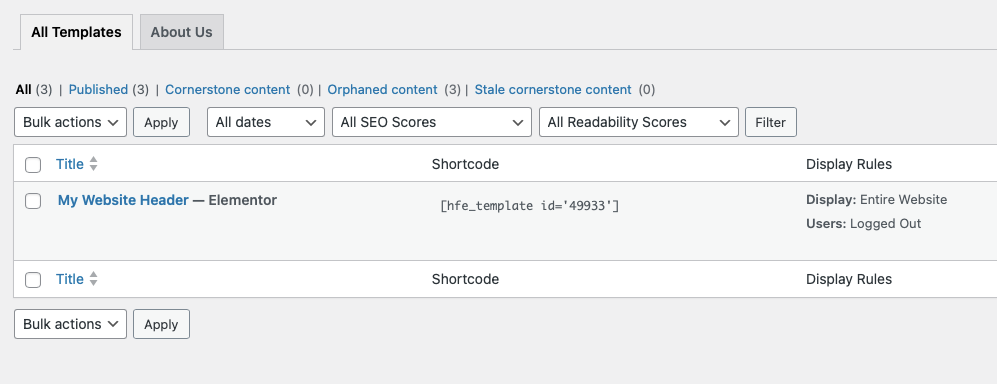
- Changing your Header on your website is one of the first things that will represent your brand. Navigate to Site Dashboard/Website Settings/Header and Site Identity and choose “My Website Header.”
- You will be able to edit every part of the header but probably the best place to start is with the entire section. You do this by clicking on the middle of the blue section area at the top of the header.

This will open your Edit area at the side to allow you to change different aspects of your header section.
- Layout – is where you can change the Width, Height and Alignment of the entire header.
- Style – is where you can change the background color or image. You can even have video or slides.
- Advanced – is where you can set your margins and padding if you need to tweak it just a bit further.

- To change your menu items, click on the on the edit button for the menu.
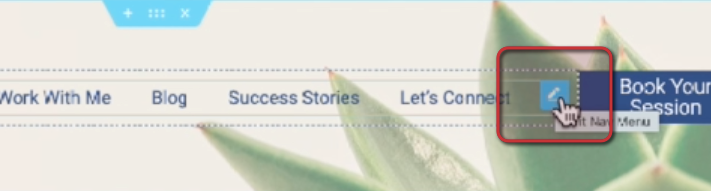
- This will open the Edit Nav Menu.
- Content – where you choose the menu that you want in this section – Choose Header. Here you will be able to choose your layout and your pointer type.
- Style – This is where you choose your font style, size and color and your pointer style settings.
- Advanced – this is where you can set additional margins and padding for extra tweaks.

- The Book your Session Button can also be edited. It is already tied to your Discovery Call Calendar but can be changed to whatever you want as your Call-to-Action. Click on the blue pencil edit in the upper corner of the button to bring up the Edit Button menu. This menu works the same as the other edit menus and you will be able to choose what your button says, the link you use and the style and color of the button.
- The look of the Login Button can also be changed to fit your brand. DO NOT CHANGE THE LINK to the button as it will affect your login ability. If you happen to accidentally change it, the link is: /wp-login.php
HAVE FUN.
Related Articles