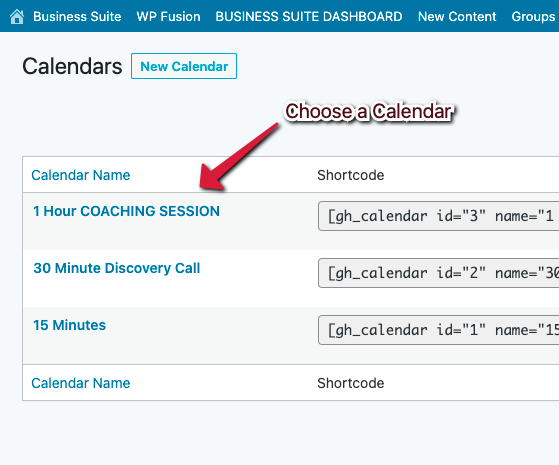
Coach’s Harbor has provided 3 “Done for You” Calendars that you can utilize.
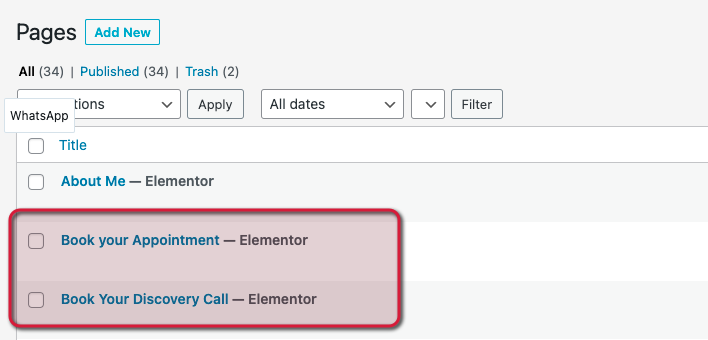
The templates are already embedded in pages on your Harbor Marketing Website in the following places. You can change which calendar is on each of these pages.
IMPORTANT NOTE: The Book your Appointment page is the page linked to you client portal so whichever calendar that you want your clients to use should be embedded on this page.

- The “30 minute Discovery Call” is linked to the button in your Header.

You can make changes to these calendars without it effecting where they show up on your website.
It will just take a few changes in the settings and you will be good to go!
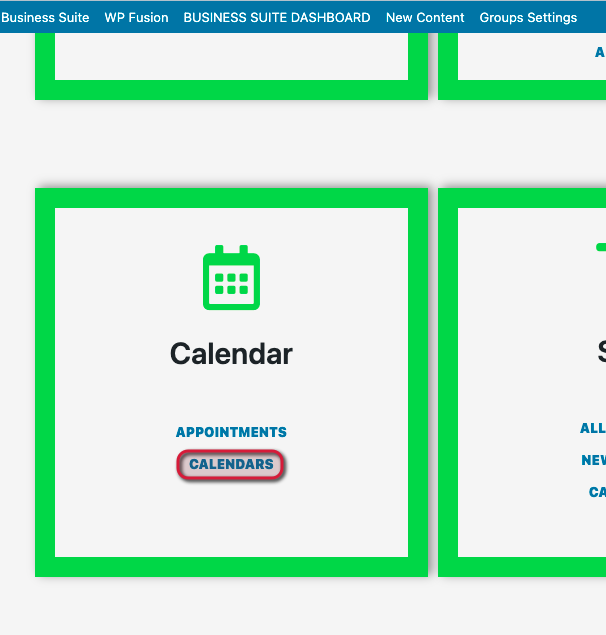
Go to Site Dashboard>Calendar>Calendars

Choose the Calendar that you want to edit.

There are several tabs at the top in which you can make this calendar work specifically for you. I am going to highlight here a few of these that will be vital for you to be aware of.
- In the Settings tab – make sure that the Calendar Owner is you or the teammate that you want this calendar to belong to.
- The Integration tab will allow you to connect your Google Calendar and Zoom. (See additional articles below).
- Availability tab allows you to set your availability – note if your Google calendar is integrated and synced, it will also read from that calendar.
- Admin Notifications is where you set up how you want to be notified about the appointment. You are the Admin.
- Email Reminders will let you set up how you want your clients/contacts to receive reminders about their appointments.
- The Embed tab gives you the Shortcode and Direct URL for this Calendar. You will also be able to embed this Calendar in your Harbor Marketing Site using Elementor widget. The Book your Appointment and Book your Discovery Call already are embedded on pages in your site as shown above.
Additional Harbor Support Articles:
