A Benchmark is a step in a funnel that launches the next or starts the funnel (or a section of the funnel). This is useful when you have an opt-in that you want to follow up with.
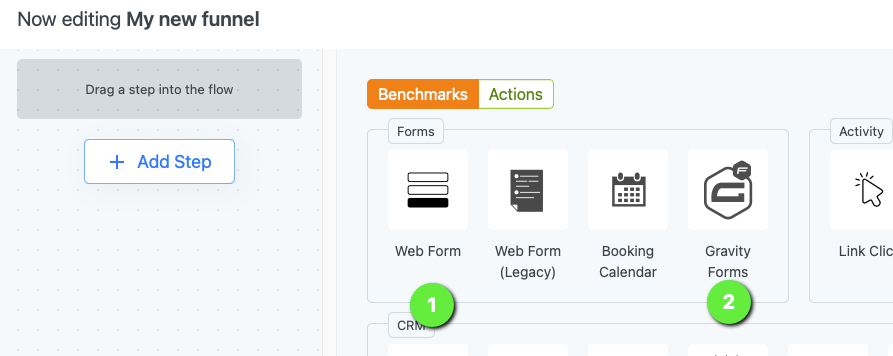
When you click on BENCHMARKS in the funnel builder you have a few choices. You should choose from either:
- Web Form that is built into the funnel builder
- Gravity Form – This uses a form you created in the Gravity Forms Builder.
Note: The Web Form (Legacy) is difficult to use and the Booking Calendar is when you want to set up a funnel directly related to your Harbor Marketing Calendar.
The Web Form
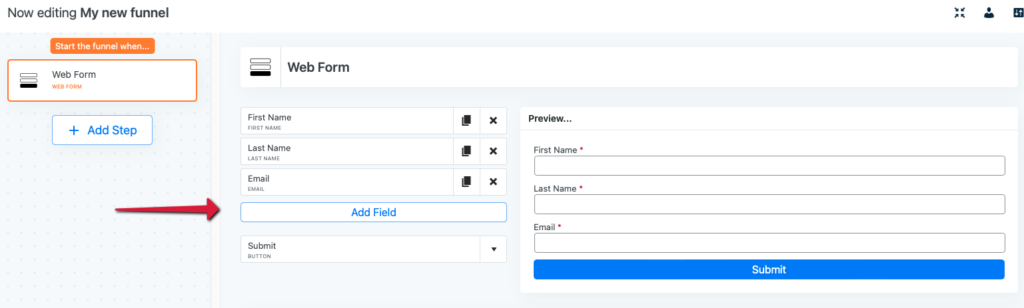
To choose the Web Form drag that step up to the flow in the box above the Add Step.
A basic form will appear. To add fields to the funnel you click on Add Field.
A list of options will be visible. These are options that will automatically be mapped to this contact’s record.
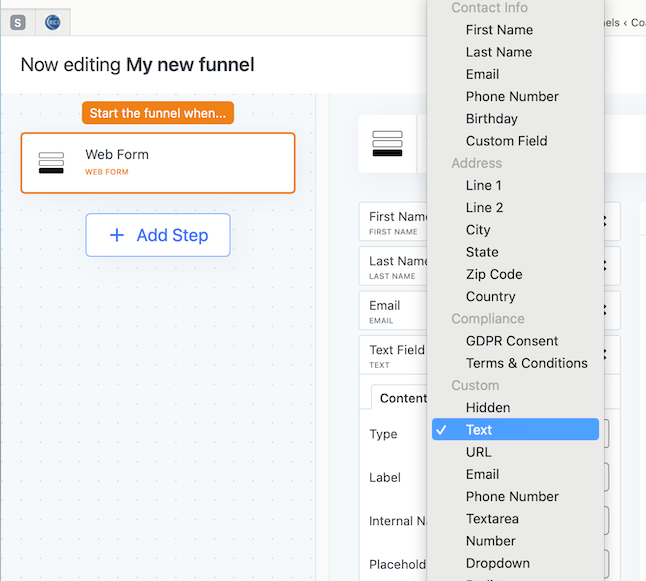
- In the instance below we have chosen Phone Number.
- Label is what will appear above the box in the form.
- You will be given other choices related to the field that you chose. (In this case Phone Type)
- When you are finished with your choices click Add Field
You can see that Phone now appears in the funnel and for some fields it will allow the user to auto fill.

You will then make the choices for your button text, width, style and where you would like the user to be directed after completing the form (after submit..).
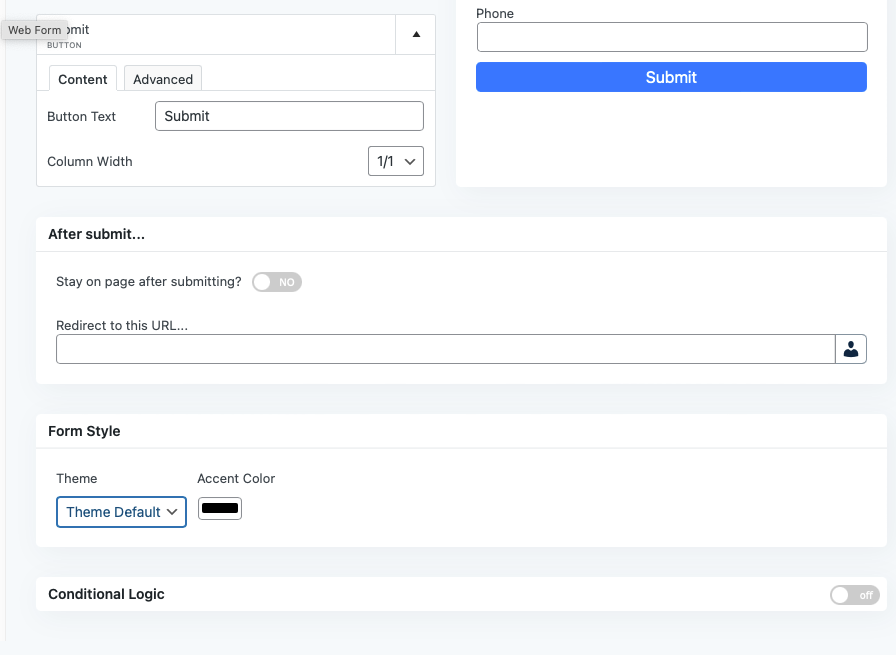
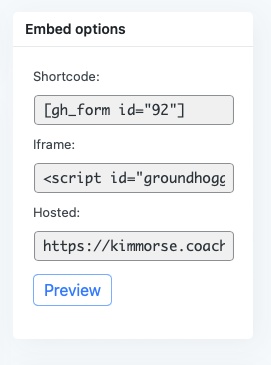
To the side you will then see your Embed options. Elementor gives us an easier way to put this form into a page. (See Below)
Gravity Form
Select the Gravity Form Benchmark and drag it to your steps.
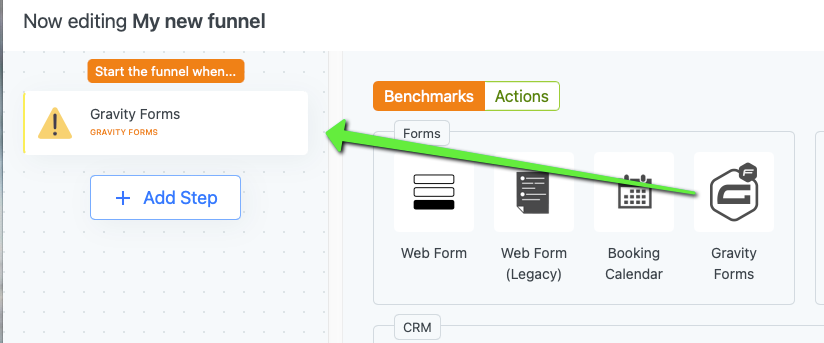
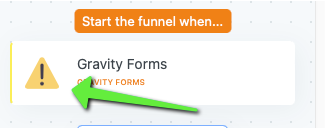
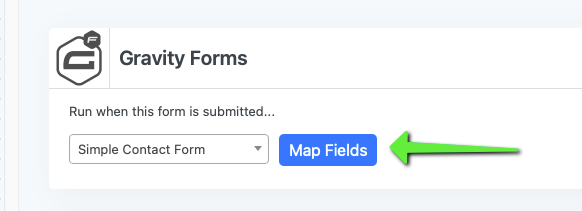
You will first see this warning symbol which simply indicates that you need to choose a form. Click on this box.
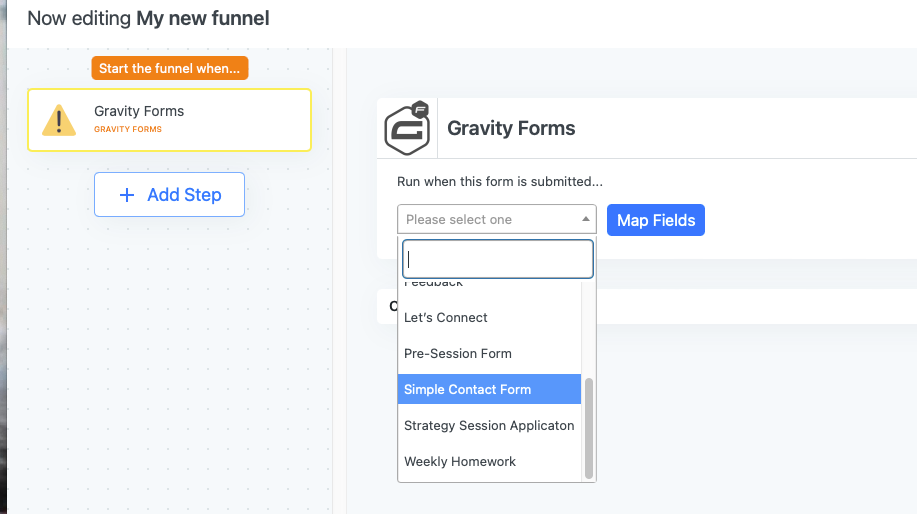
You will then see a box appear to the right where you can choose your form from the drop-down menu. This will only show forms that you have already created in the Gravity Form Builder.
Gravity Forms is an integration for Harbor Marketing. Therefore the fields in your funnel will need to be “mapped” in order for them to be applied to the contact’s record. So you will click on Map Fields to do this.
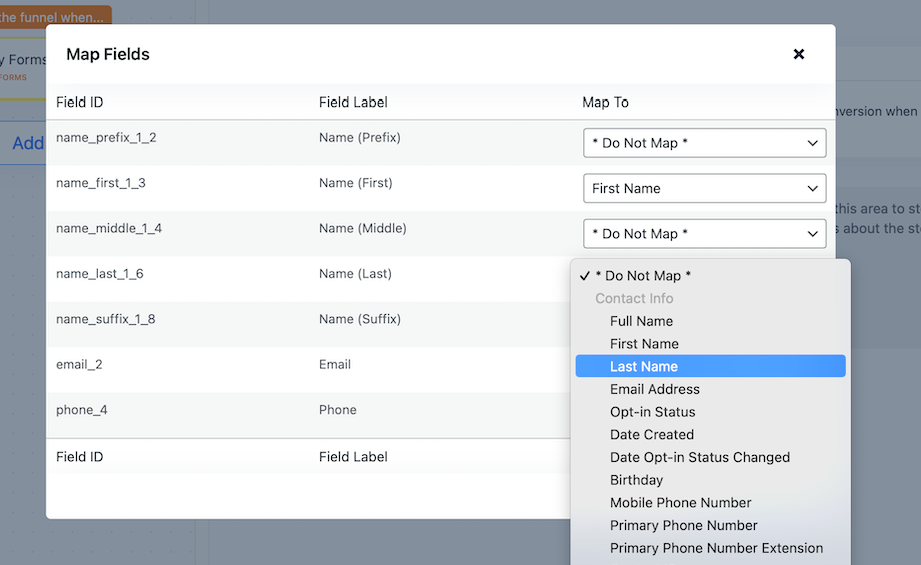
Once you click on Map Fields this box will appear. At the left are the Field ID that will be associated with the contact record. If you want this field to be added to the record then you will need to choose where you want it to map to in the record. You can leave it at *Do Not Map if you do not want it to appear in the record.
For the example below, I do not care about the Name (Prefix) so I did not map it. I do want the Name (First) to map and want it to appear in the First Name label in the contact record.
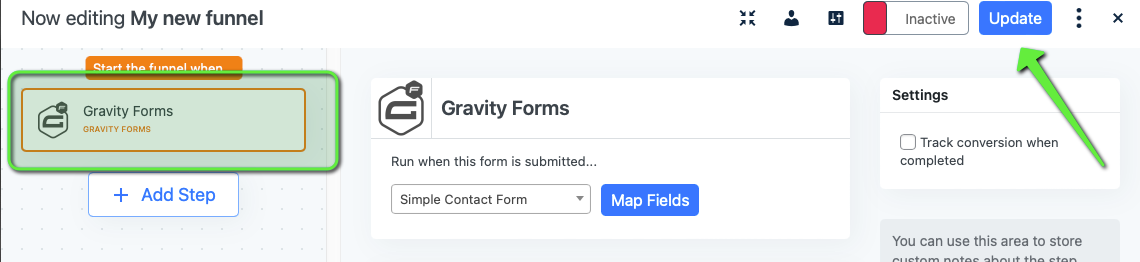
After you have finished mapping your fields, click Update and the warning symbol will be gone and you are good to go.
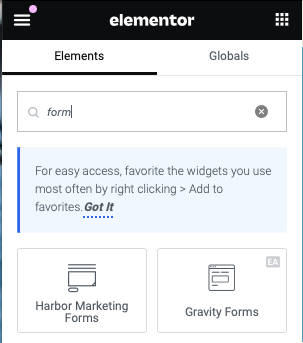
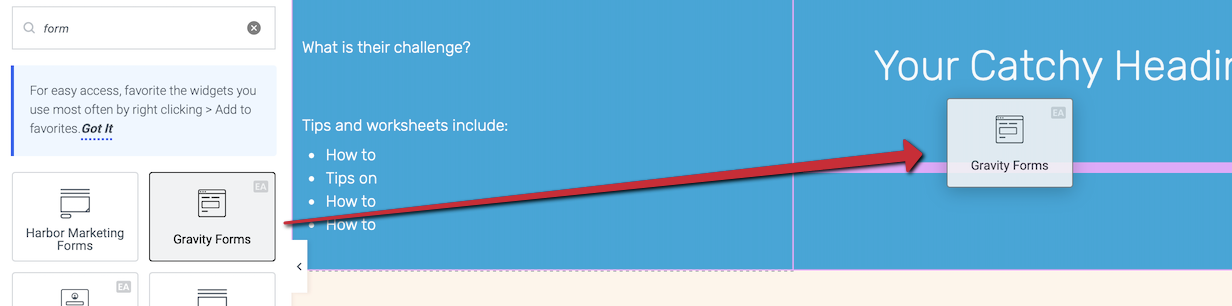
Adding your form to a page using Elementor
In your Elementor Page Builder, you can choose a form widget.
Harbor Marketing Forms is your Web Form
Drag the widget you choose to where you want it to appear on your page.
After you drag the widget you chose into place, you will be able to choose your form and setting for that form.
In Conclusion
If you are going to be creating a very simple form for an opt-in, using the web form in the funnel builder will be the best option as it will automatically map the fields you choose from the drop-down.
Both forms have conditional logic and have many options for your fields.
Gravity Forms is great for complex forms in which you want admin notifications or you wish to assign value to the form such as a quiz with a score.